In this tutorial, you will learn How to Draw and Modeling Tire and Rim in Autocad. This is on categories advanced tutorial. You can learn tutorial step by step and more easly. so let us start.

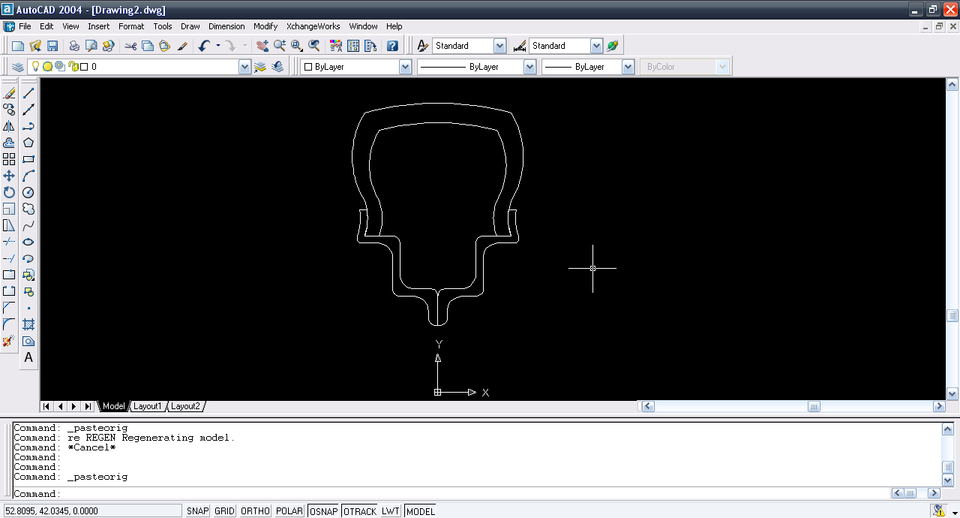
- Step Start AutoCAD and draw this profile. This will be tyre.
-
Step 2
Now draw the profile of the rim. Be sure to use polyline. If you used arcs and lines then use PEDIT command to join them.
-
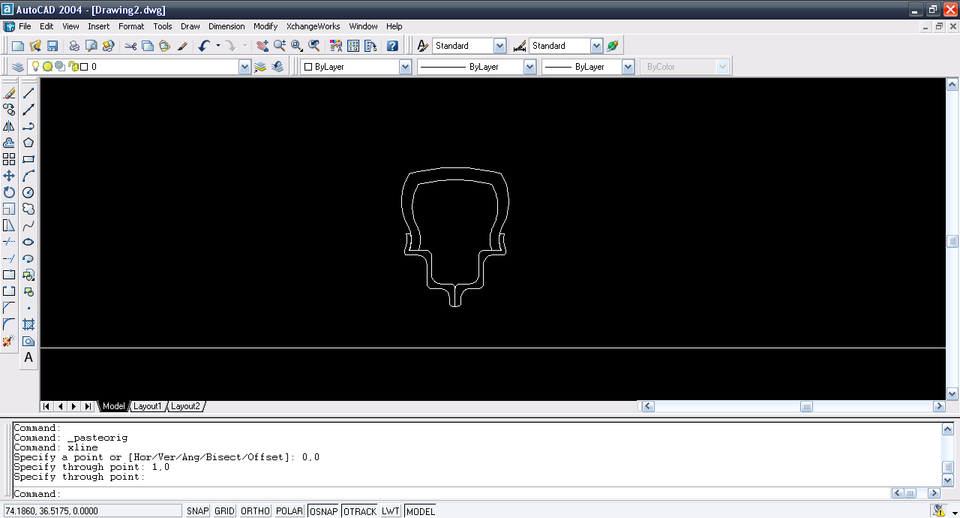
Step 3
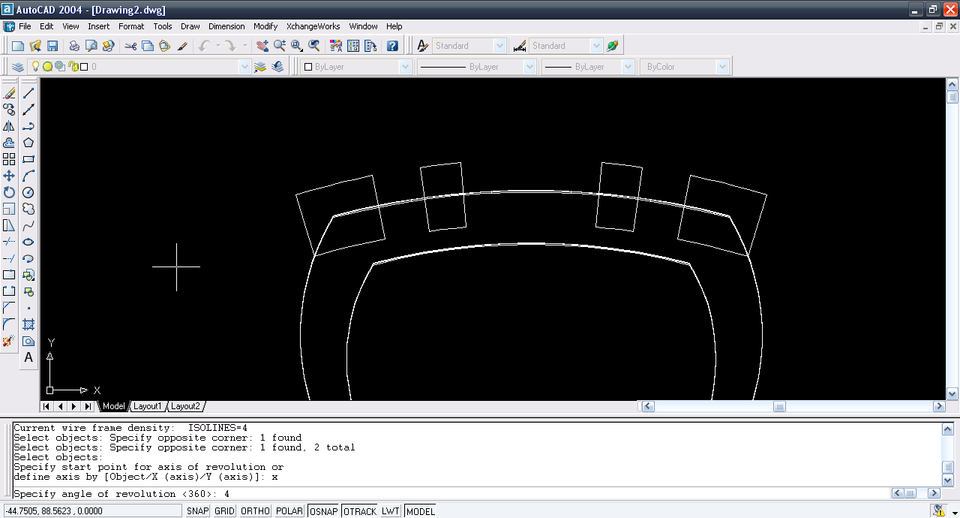
Draw a Construction line along X-axis.
-
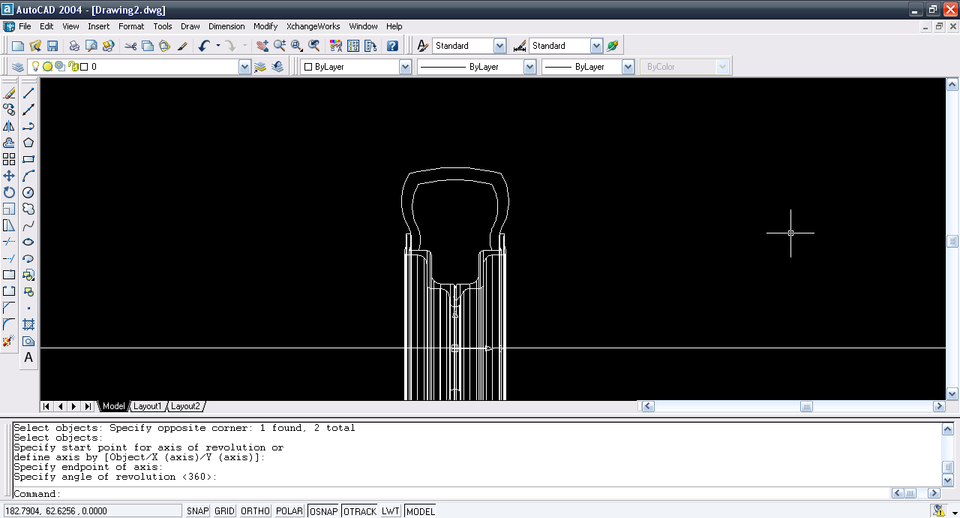
Step 4
Use Revolve command and select the profile for rim.
-
Step 5
Revolve it about x-axis at 360º.
-
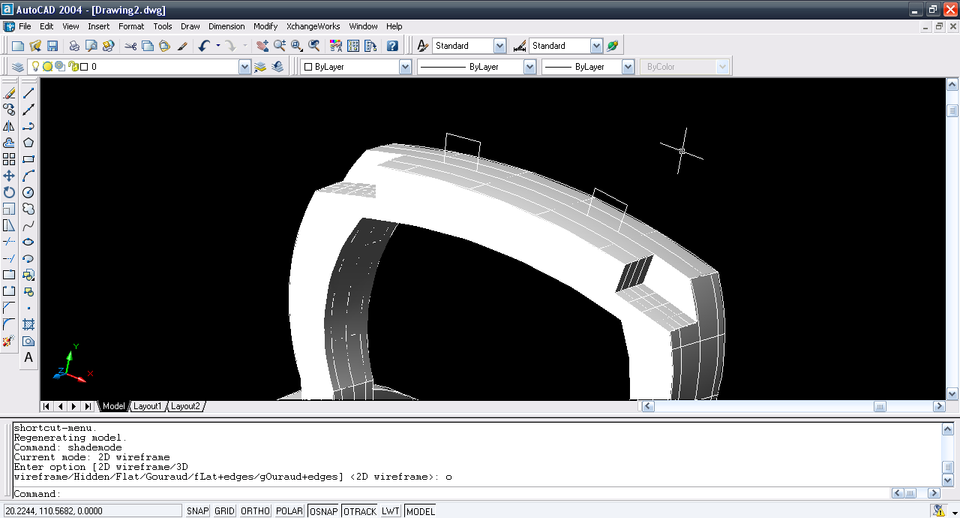
Step 6
Now we have the Rim body.
-
Step 7
Again revolve command and select the tyre profile.
-
Step 8
Revolve it by 8º.
-
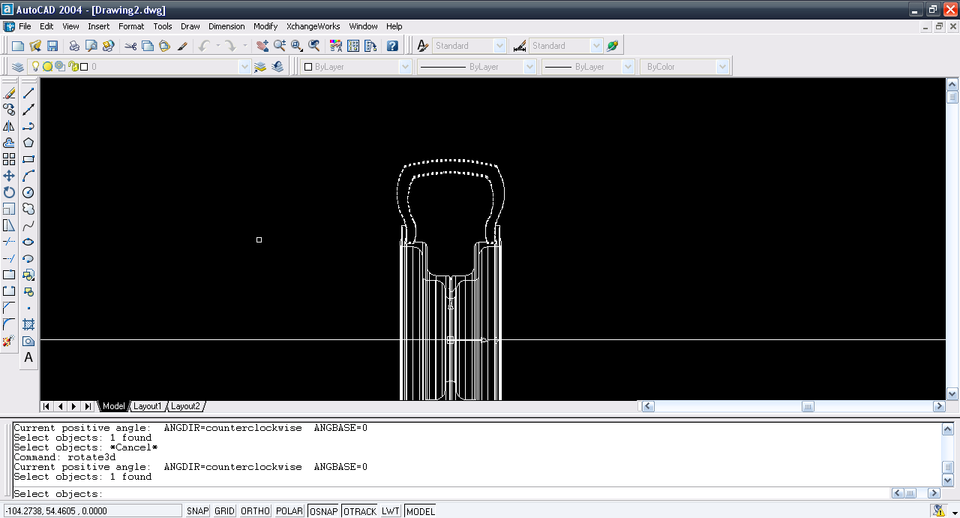
Step 9
Now enter Rotate3D command.
-
Step 10
Select the tyre part.
-
Step 11
Along X-axis at -4º.
-
Step 12
Now draw these entities along the plane view using pline, pedit, rectangle. Any command.
-
Step 13
Enter Revolve command.
-
Step 14
Select the 2-entities.
-
Step 15
About X-axis at 4º.
-
Step 16
Now enter Subtract command.
-
Step 17
subtract the revolved part from tyre body.
-
Step 18
Revolve again and select the other two plines.
-
Step 19
About X-axis at -4º.
-
Step 20
Subtract them too.
-
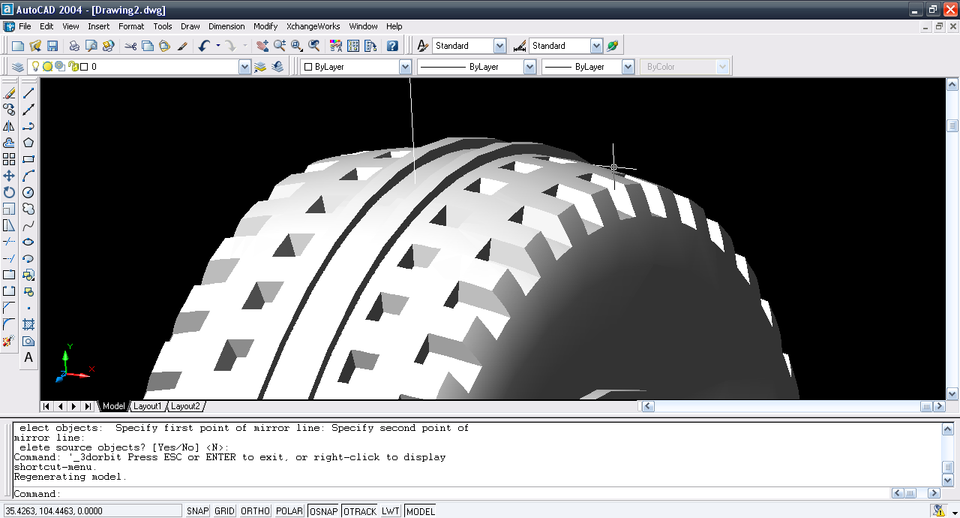
Step 21
Enter 3DArray command.
-
Step 22
Select the tyre part.
-
Step 23
Polar array type.
-
Step 24
Enter number of items be 45. This will complete the tyre since it was rotated at 8º, 8x45=360º.
-
Step 25
Now we have the Tyre body.
-
Step 26
Plan>>Current View.
-
Step 27
Now we revolve two rectangle about x-axis at 360º.
-
Step 28
Subtract them too.
-
Step 29
Rotate the UCS.
-
Step 30
Plan>>Current view. Now use Cylinder command.
-
Step 31
Construct the cylinder.
-
Step 32
Move it to be symmetrical.
-
Step 33
Use Array command.
-
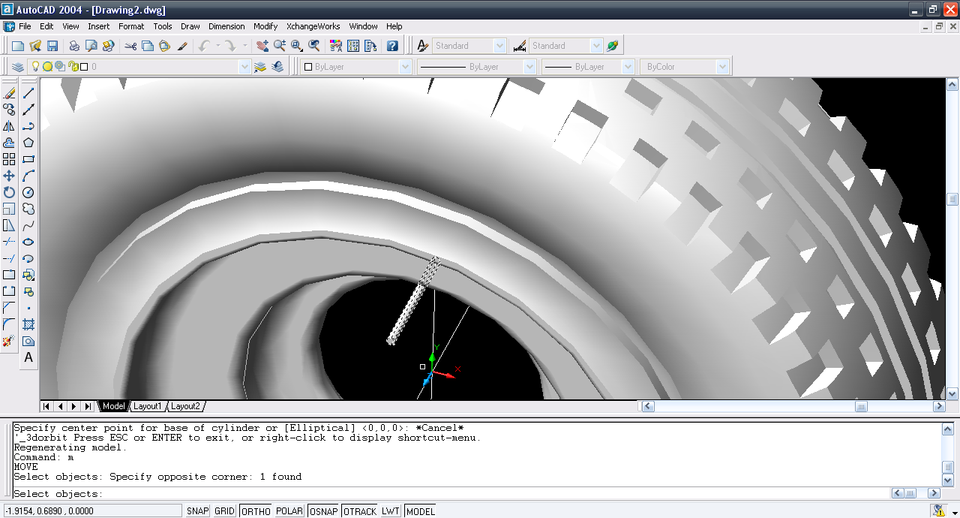
Step 34
Polar array with 4 items.Subtract them from the rim.
-
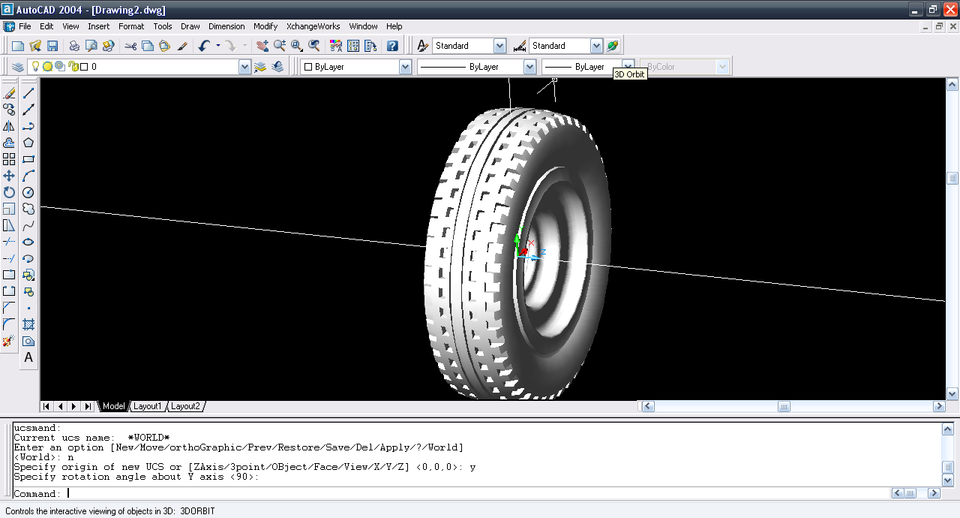
Step 35
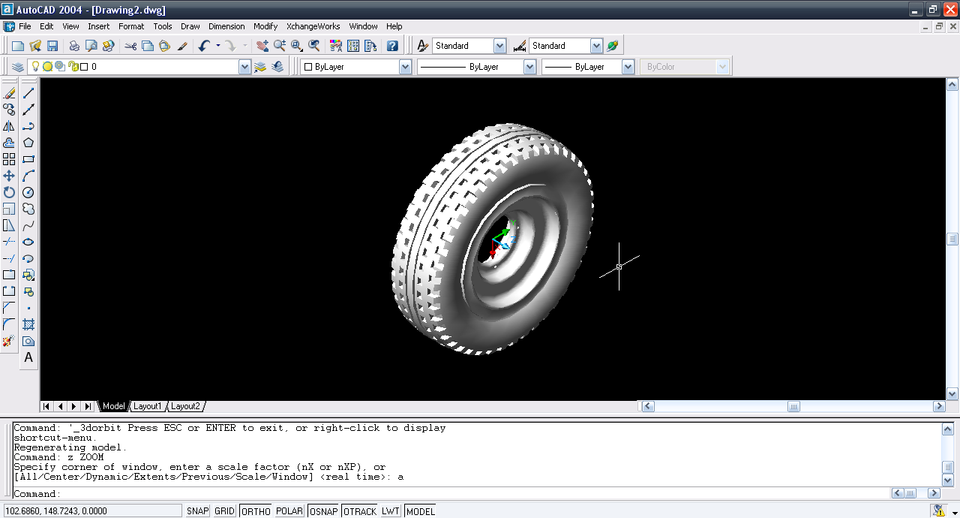
Now we have the basic body of tyre in AutoCAD 2004 Standard Version.

Now the tutorial How to Draw and Modeling Tire and Rim in Autocad has been finished. If you need any tutorial to improve your skill in autocad please visit other tutorial on this blog. Ok thanks for coming.
By Surajmal


No comments:
Post a Comment