In thi tutorial you will learn How to render in AutoCad. This is Advanced Tutorial Categories. You can learn tutorial step by step and more easly. so let us start.

-
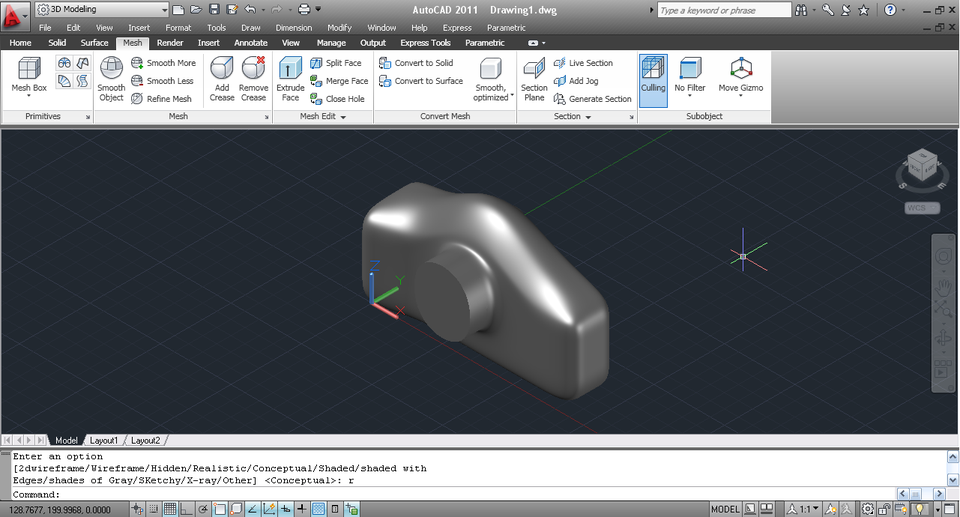
Step 1
Open your part in AutoCAD.

-
Step 2
Choose line tool.

-
Step 3
Make a line below your part.

-
Step 4
Change the UCS so the line can be extruded in horizontal plane.

-
Step 5
Under surfaces tab choose extrude and extrude it making the floor. Adjust it using Move gizmo.

-
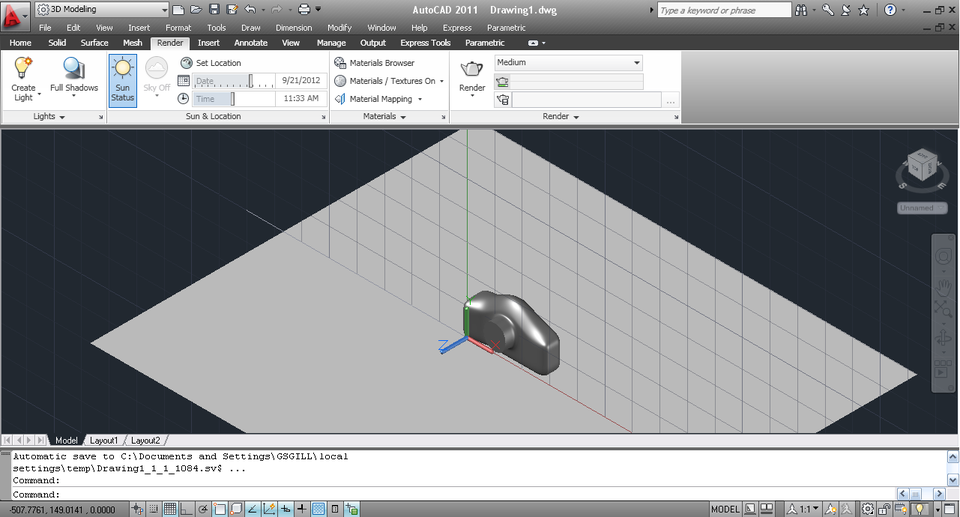
Step 6
Now go to render tab. We have to adjust some of the setting before rendering. First of all full shadows.

-
Step 7
Now turn on the Sun for realistic shadows. Under material texture turn material texture on.

-
Step 8
Adjust the time of the Sun.

-
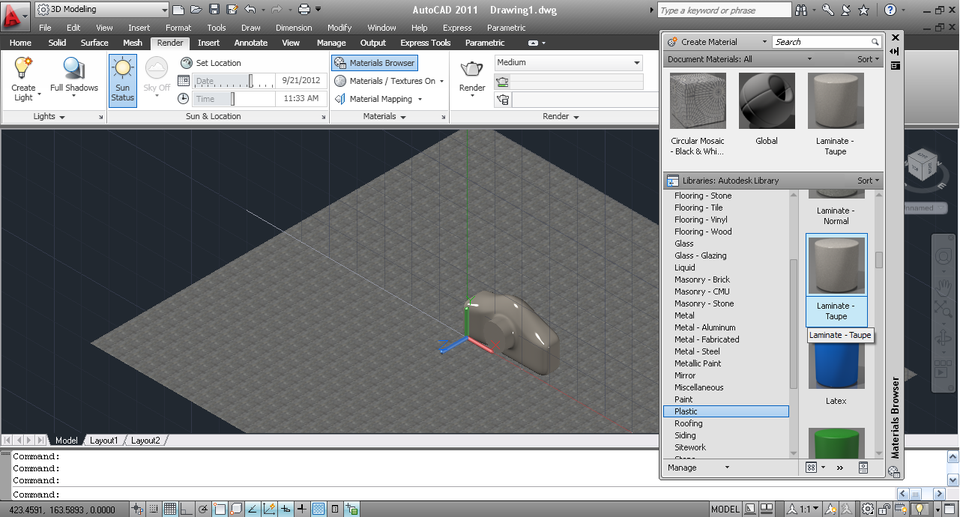
Step 9
Open material browser from render tab and apply floor tile material to the surface.

-
Step 10
Apply plastic material to the body or whatever.

-
Step 11
Adjust the model.

-
Step 12
Now click on the arrow below the render button. Choose the setting of the rendering and then click render button.

-
Step 13
The render window will open up and the rendering will start.

-
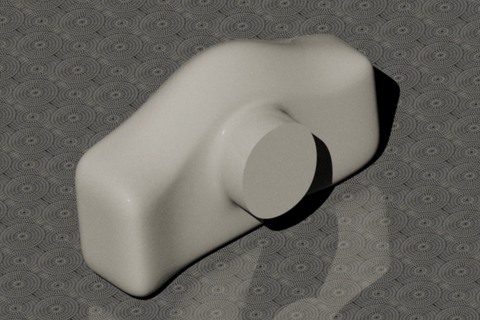
Step 14
Here is my final result. Looks Good!. If you need any tutorial to improve your skill in autocad please visit other tutorial on this blog. Ok thanks for coming.
By Sudhir Gill


ReplyDeleteUse TrueCAD-intellicad Software.One of the best AutoCAD alternative cad software at affordable price. here is reference link "https://actcad.com/download-actcad-intellicad-software.php"